

Logic Board
Because PowerBooks have complicated internals, I do not include instructions on removing the logic board. Included, however, are instructions for getting to the RAM slots.
Before opening a PowerBook, you should unplug it and remove any devices in the expansion slots such as CD-ROM drives, floppy drives, batteries, and PC cards.
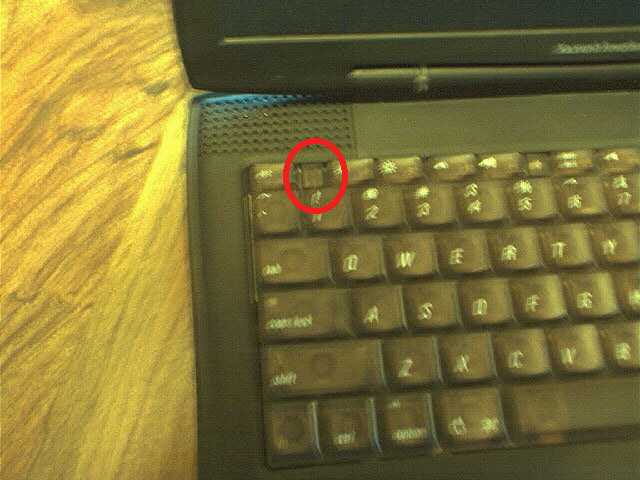
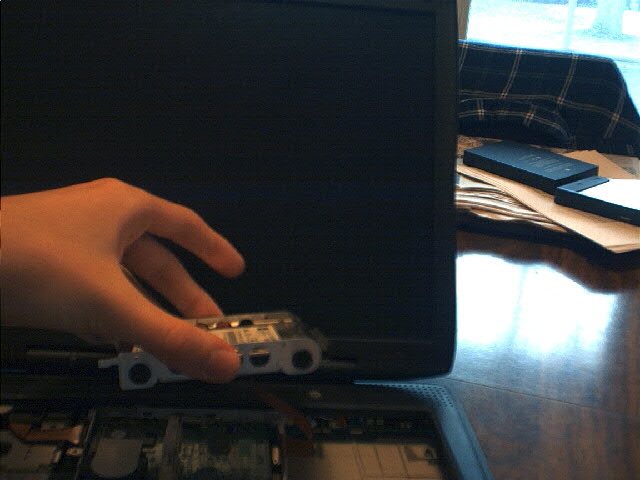
To get to the RAM, you first need to make sure the locking screw is unlocked. The locking screw is a screw on the back panel near the ports. It has a little lock icon. Pull the two latches on the keyboard back. One is shown below.
Next, lift the keyboard up and tilt it all the way over so it rests on the palm rest.
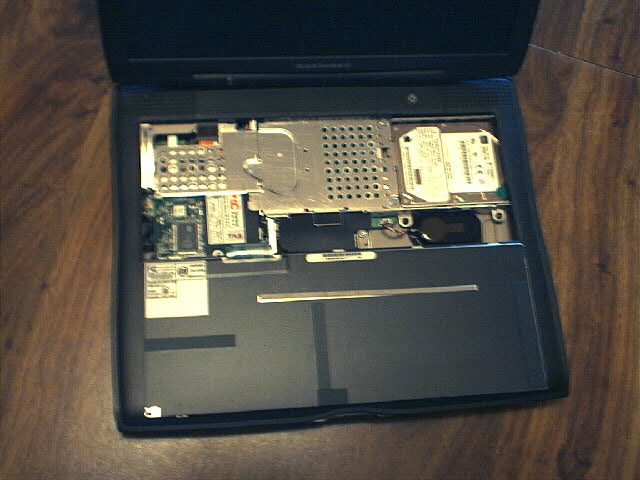
You now have access to the internals of the PowerBook. Next, you need to remove the heat shield which covers access to the hard drive and the RAM slot. Remove the three screws that hold it in place and lift it up, as shown below.
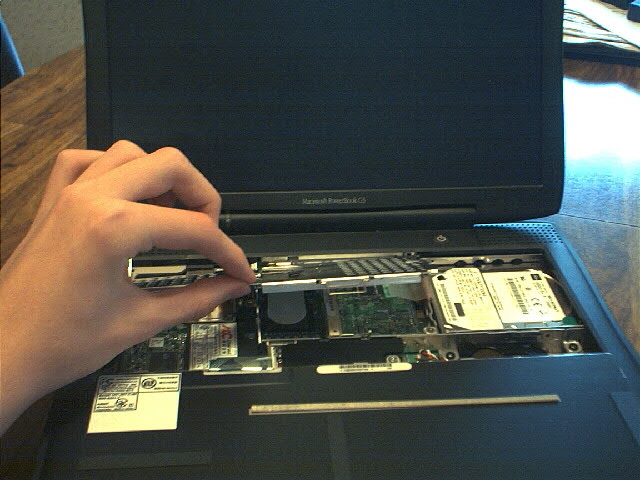
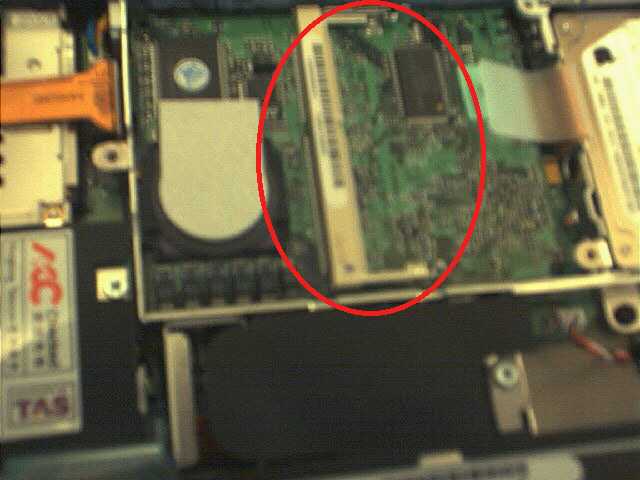
The RAM slot is circled in red in the picture below.
Hard Drive
Open up the PowerBook as shown in the steps above. Remove the heat shield. The hard drive is on the right side of the PowerBook:
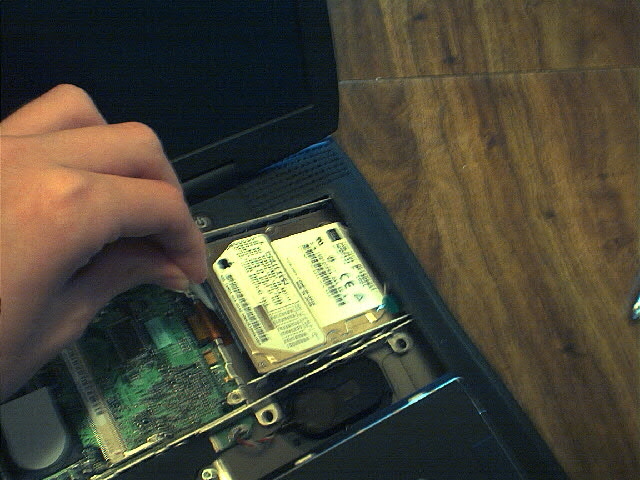
To remove it, pull up on the tab that is attached to it and lift it up. A ribbon cable attaches it to the rest of the PowerBook.
CD-ROM Drive
The CD-ROM drive is an expansion bay device, so simply remove it.
Floppy Drive
N/A
Information provided by Doug Brown.