

Logic Board
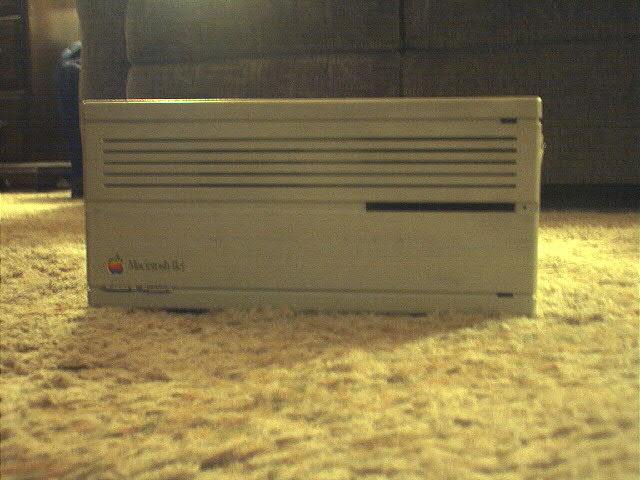
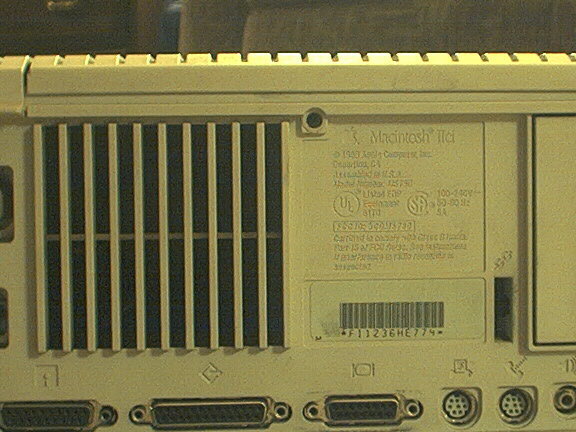
This Macintosh is very easy to open. Unplug everything. If you are using a Quadra 700, tilt it on it's side so it is like a IIcx. Take the screw out on the back as shown in the next picture.
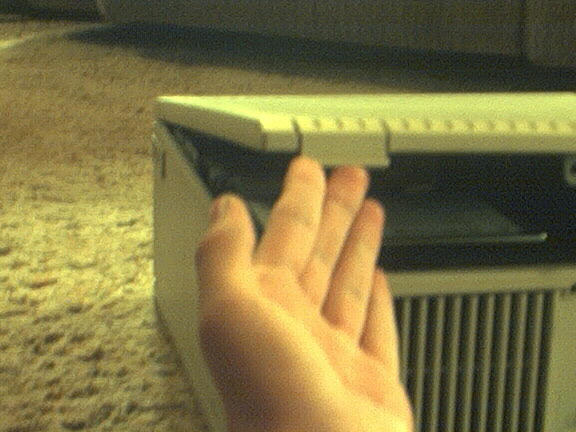
Flip the top panel up as in the following picture.
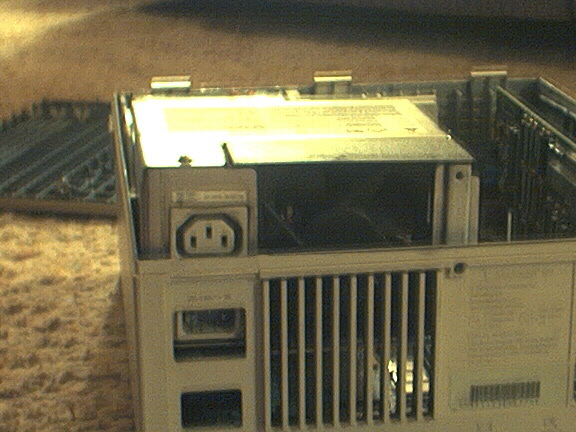
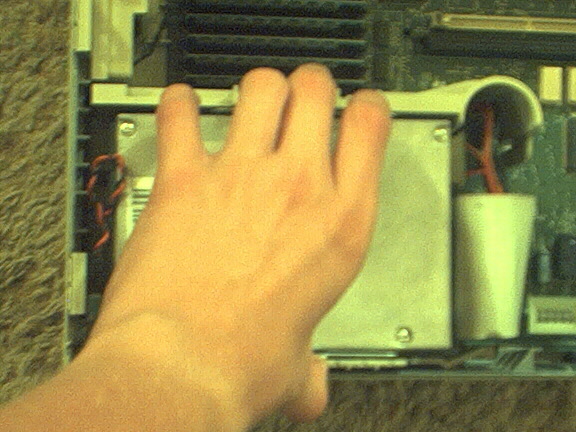
There's everything, ready for you to get at! To get to the motherboard, you 'll need to remove the power supply and the hard drives. Here's how I did it on mine. Reach down between the hard drive rack and the power supply (the large metal box in the lower left corner if looking at it from behind with a bird's eye view). Reach in there and press the plastic tab. Then, use your other hand to grab the other open area on the right of the power supply and pull up firmly. The power supply will come out.
Next, take that one screw out from the hard drive/floppy carrier (it's inside the C-shaped part). Now, you need to remove the hard drive from the carrier. Press the two metal tabs and lift it up.
Unplug the hard drive ribbon cable from the motherboard. Then, remove the hard drive power cable by pressing the tab on it and pulling it up. Now, you can remove the hard drive. Finally, remove the floppy ribbon cable from the motherboard (the ribbon cables have pull tabs on them to make the job easier). Next, press the tab on the left hand side of the case.
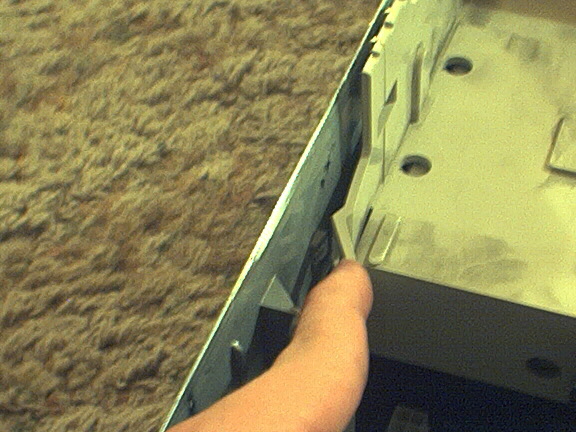
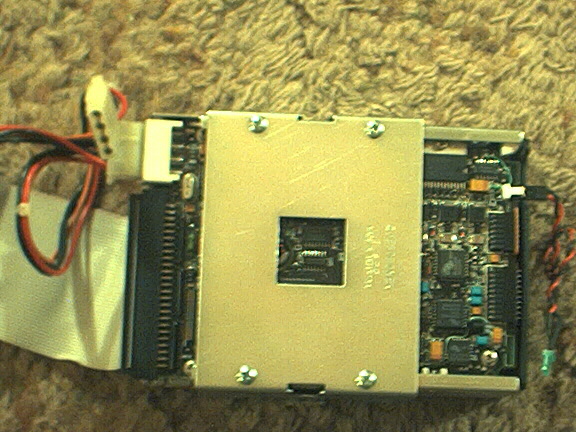
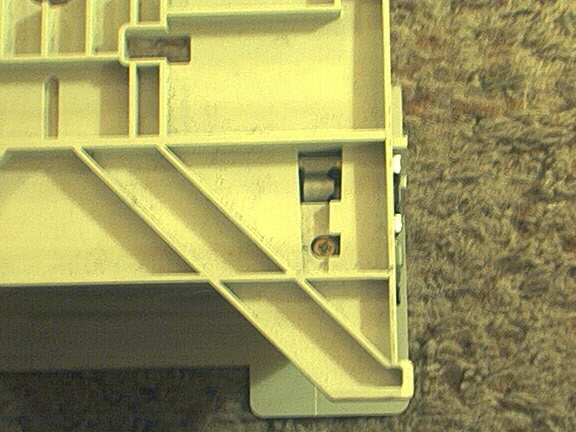
Pull the whole carrier towards you and lift up. Be careful not to scratch the motherboard. There it is! To remove it, push on the SCSI and other ports to get it to clear the latches that hold it in that are shown in the next picture.
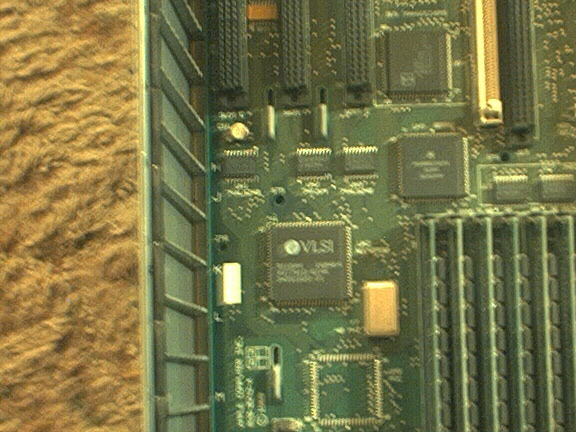
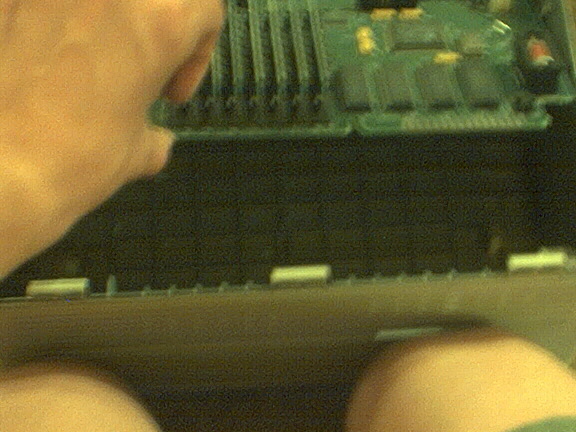
Finally, tilt the motherboard up and out.
Hard Drive
Remove the hard drive as shown in the logic board section. There are four screws to remove on the bottom to release the hard drive from it's carrier. They are shown in the next picture.
CD-ROM Drive/DVD-ROM Drive
N/A
Floppy Drive
Remove the drive rack. The floppy drive is on the underside. You need to remove one screw from each side of the rack. The screw is shown in the next picture.
After the screws are removed, push on the side that has the floppy cable attached and lift the floppy drive out.
Information and pictures provided by Doug Brown. (Sorry, some of the pictures are blurry, but my digital camera doesn't have a close-up lens).